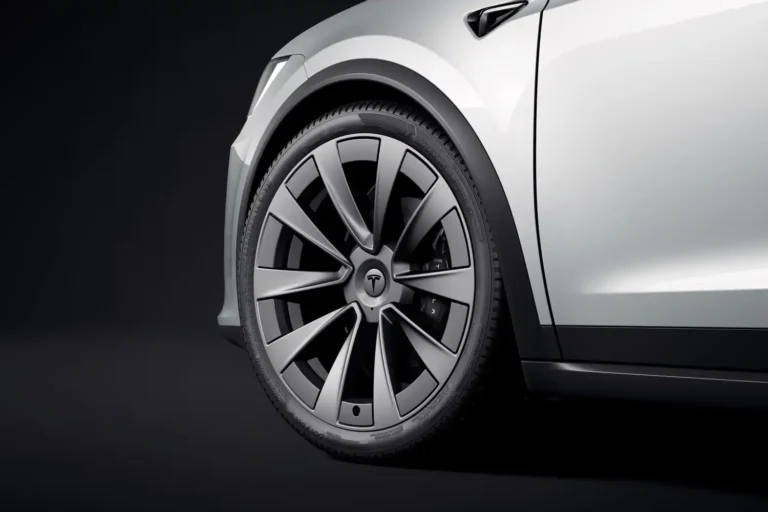
1. Why Tire Pressure Matters
Before diving into how to check tire pressure, let’s talk about why it’s important. Properly inflated tires provide the best grip on the road. They improve fuel efficiency, extend tire life, and enhance safety. Driving on underinflated tires can cause them to overheat, leading to potential blowouts. On the flip side, overinflated tires reduce contact with the road, leading to less traction and a rougher ride.
Checking your tire pressure regularly is a small task that makes a big difference. It only takes a few minutes and can prevent major issues down the road.
2. Gather Your Tools
The first step in checking your tire pressure is having the right tools. You’ll need:
- Tire pressure gauge: There are three types—digital, stick, and dial. Digital gauges are the easiest to read, but all three get the job done.
- Owner’s manual or tire placard: This is where you’ll find the recommended tire pressure for your vehicle. Usually, this information is also listed on a sticker inside the driver’s side door.
- Air compressor (optional): If your tire pressure is low, you can use an air compressor at home or at a gas station to fill them up.
Once you have these tools, you’re ready to get started.
3. Find the Recommended Tire Pressure
Before you check the actual pressure in your tires, you need to know what the correct pressure should be. This information is usually found in one of two places: inside the driver’s door on a tire placard or in your vehicle’s owner’s manual.
Don’t rely on the number printed on the tire itself—that’s the maximum pressure the tire can handle, not what your car needs for optimal performance. The recommended tire pressure is typically measured in PSI (pounds per square inch). Most passenger cars have a recommended PSI between 30 and 35, but it varies by vehicle.
4. Check Tire Pressure When Tires Are Cold
Tire pressure changes with temperature. When tires are hot from driving, the air inside expands, which can give you a false reading. That’s why it’s best to check your tire pressure when the tires are cold—ideally, after the car has been sitting for a few hours or first thing in the morning.
If you’re checking at a gas station after driving, you may want to wait 30 minutes for the tires to cool down, or just account for a slight increase in pressure.
5. Remove the Valve Cap
To begin, remove the cap from the tire’s air valve. This is the small stem sticking out of the tire. Keep the cap somewhere safe, as you’ll need to screw it back on after checking. A missing cap won’t immediately cause air loss, but it helps keep dirt and debris out of the valve.
6. Use the Tire Pressure Gauge
Now, press the tire pressure gauge onto the valve stem firmly. You’ll hear a brief hiss of air, but that’s normal. Press down evenly to get an accurate reading. If you’re using a digital gauge, the number will appear on the screen. If you’re using a stick or dial gauge, read the measurement carefully.
Compare the reading with the recommended PSI for your vehicle. If the pressure is too low, it’s time to add air. If it’s too high, you’ll need to release some air until it matches the proper PSI.
7. Adjust the Pressure If Necessary
If your tire pressure is lower than the recommended PSI, use an air compressor to inflate the tire. If you’re at home, plug in your compressor and attach the nozzle to the valve. Most gas stations also have air compressors available for use.
Add air in short bursts, checking the pressure as you go to avoid overinflating. It’s easy to add more air, but if you put in too much, you’ll need to release some. If the pressure is too high, press the small pin inside the valve stem with the back of the tire gauge to let air out. Check the pressure again until it’s right.
8. Don’t Forget the Spare Tire
Many people forget about the spare tire when checking air pressure, but it’s just as important. You never know when you might need it, and finding out it’s flat when you’re already dealing with a flat tire is a nightmare. Take a few extra minutes to check the spare’s pressure, too.
9. Recheck Pressure and Replace Valve Cap
Once you’ve inflated or deflated the tire to the correct pressure, double-check the reading with your gauge to ensure it’s perfect. Then, screw the valve cap back on tightly to protect the valve from dirt or moisture.
Repeat this process for all four tires and your spare. It’s a quick routine that ensures your tires are always performing their best.
Maintain Optimal Tire Pressure for a Better Drive
Checking your tire pressure is one of the simplest things you can do to keep your car running smoothly. Tires with the correct pressure give you better handling, improved fuel economy, and longer-lasting tread. It’s a small habit that can save you from bigger problems down the road, like blowouts or uneven wear.
So, set a reminder to check your tire pressure at least once a month or before long trips. It’s a quick and easy task that pays off in both performance and safety. Plus, with a properly inflated set of tires, you’re not just driving—you’re driving smarter.
About the Author